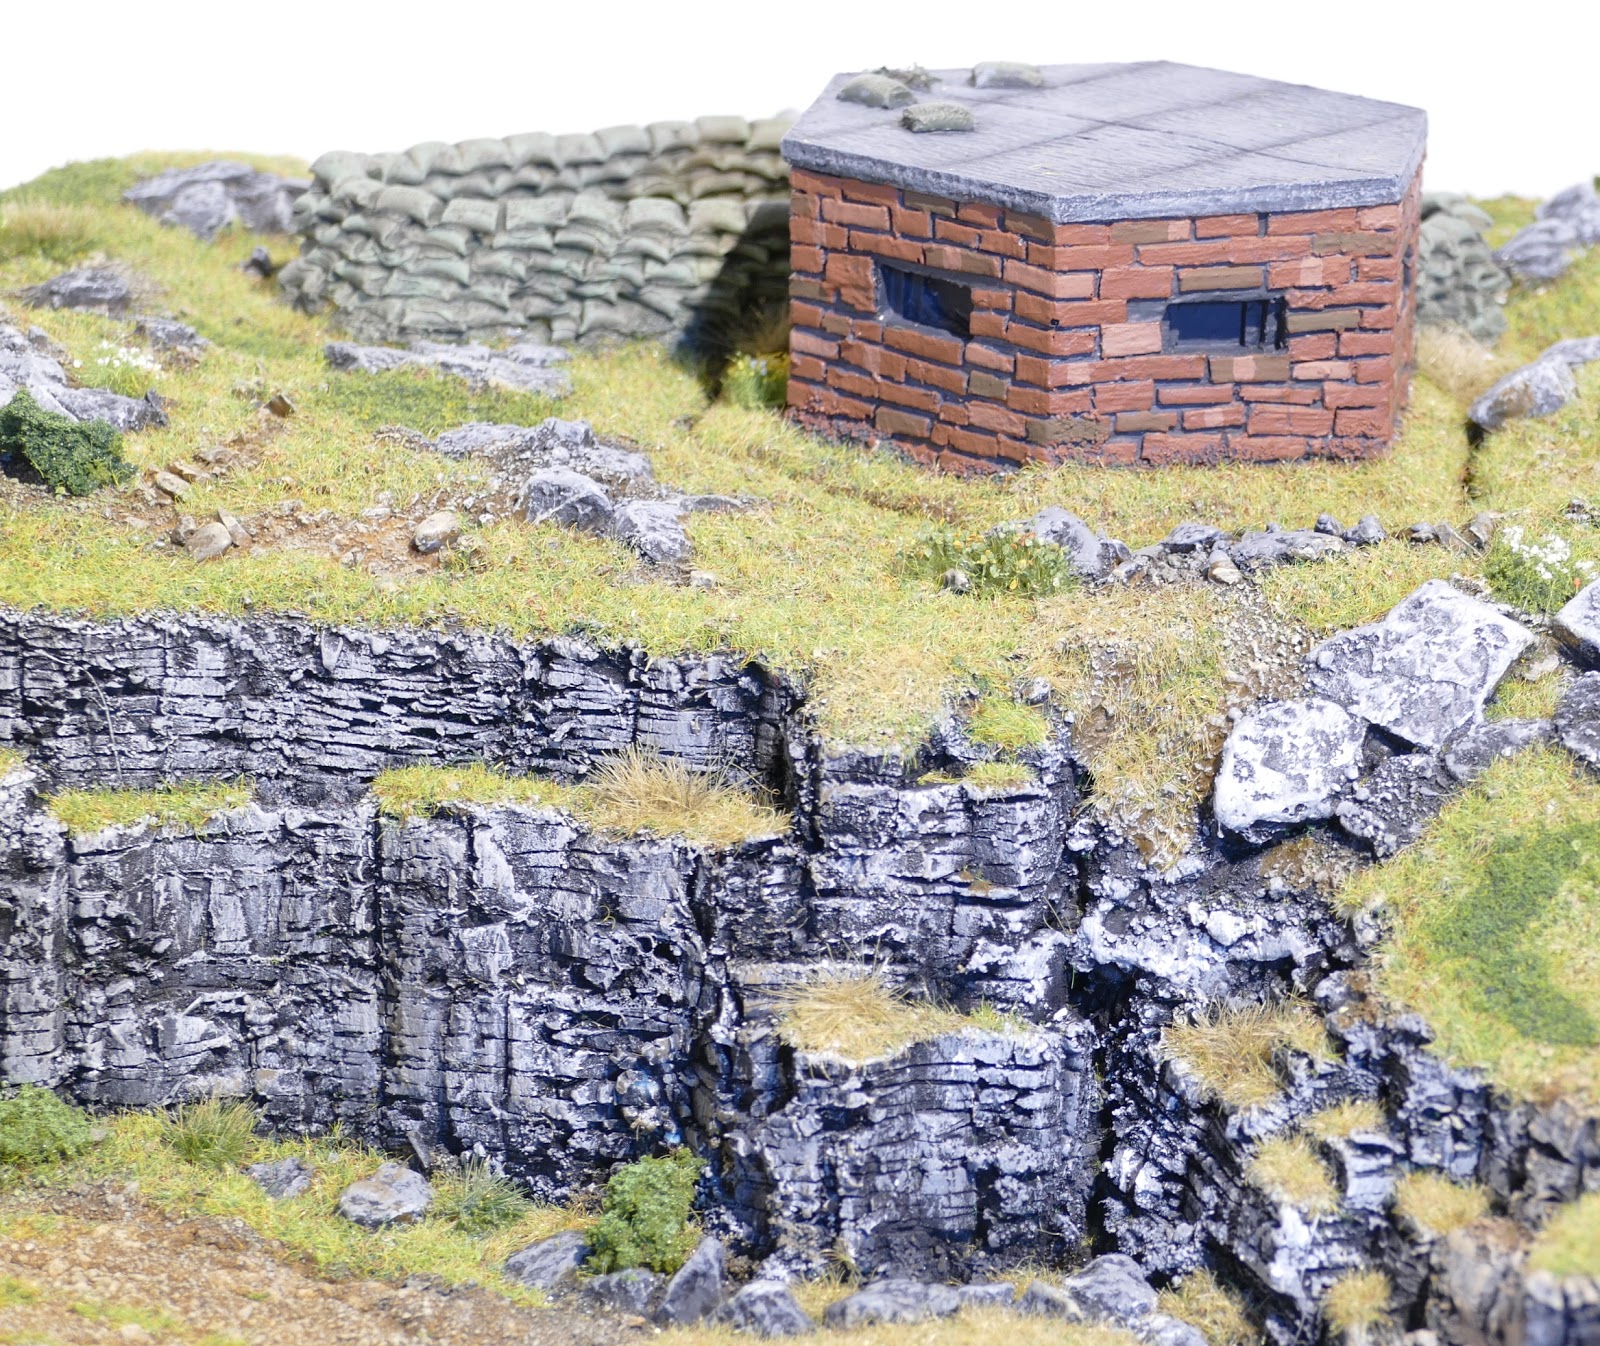
Hello There! As I was making the desert scenery I learnt a few tips that I found as I worked through some problems I found.

As I dry brushed the surface of the desert, I brushed off some of the surface, painted sawdust. I saved what came off and kept it in a bag, thinking, 'That might be useful'. Not really knowing how.
During the drying of the tile adhesive sometimes the surface would crack. If this was in the centre of the board I would leave it as it looked realistic. However if it was along the join between the surface and the timber edge of the scenic tile then it would show up the timber surround. This was when I though, 'Well I do not want to get the tile adhesive out again' and fill the gap, as this would take a long time to go hard. I added a layer of PVA glue and embedded these pieces of sawdust into the glue. Overnight this had set and you could not tell the difference to the rest of the scenery. It dry brushed the same as well.

I am working on scenic tiles for the desert and NW Europe. This means that I may have a number of tiles 'on the go' at the same time. I have repeatedly got them mixed up and forgotten what I had planned! As I glue the timber edging on to the edge of the plywood base I write on the top surface of the base, what it is intended to be. Then I add the base layer of styrene foam this would cover up this instruction, so I copy this onto the base. Why don't I just put it on the base at first? Well I do not have to turn the tiles over to see what they are meant to be all the time, especially when the sides are held down with clamps while the glue dries.

The sides of the tiles are a fixed height. This is 50mm thick. This means that as 50mm thick styrene is put inside the tray then it stands proud of the top edge of the timber edging. I found it very difficult to cut this top layer off before before it was glued into the tray. I cut this top layer off after the glue had set to fix the styrene into the tray. Then I could cut the protruding layer of the styrene off using a handsaw. This allowed me to use the top edge of the timber surround to help guide the saw. I would start cutting from both ends so that the cutting line would be vaguely straight.

I am making this scenery in a outside location. This means that the temperature can vary greatly. This can delay glue setting and the tile adhesive going hard. While the thickness of the tile adhesive is not so thick that it would slump before it had set, I found that even after a week, (sometimes). it was still not set. If I had a electric fan heater to warm the room, I would set the scenic tile on end to hasten it setting or drying.